Bite-Sized Godot: Using spritesheets with 2D particles
The spritesheet we’ll be using is one I’ve made using some of the excellent artwork available from Kenney. Download the spritesheet and add it to your project if you’d like, or use your own image.

Then go into your project and add a Particles2D node (or CPUParticles2D if you’re using GLES2) and configure it however you’d like. In this instance, I’m using a Sphere emission shape with no gravity.
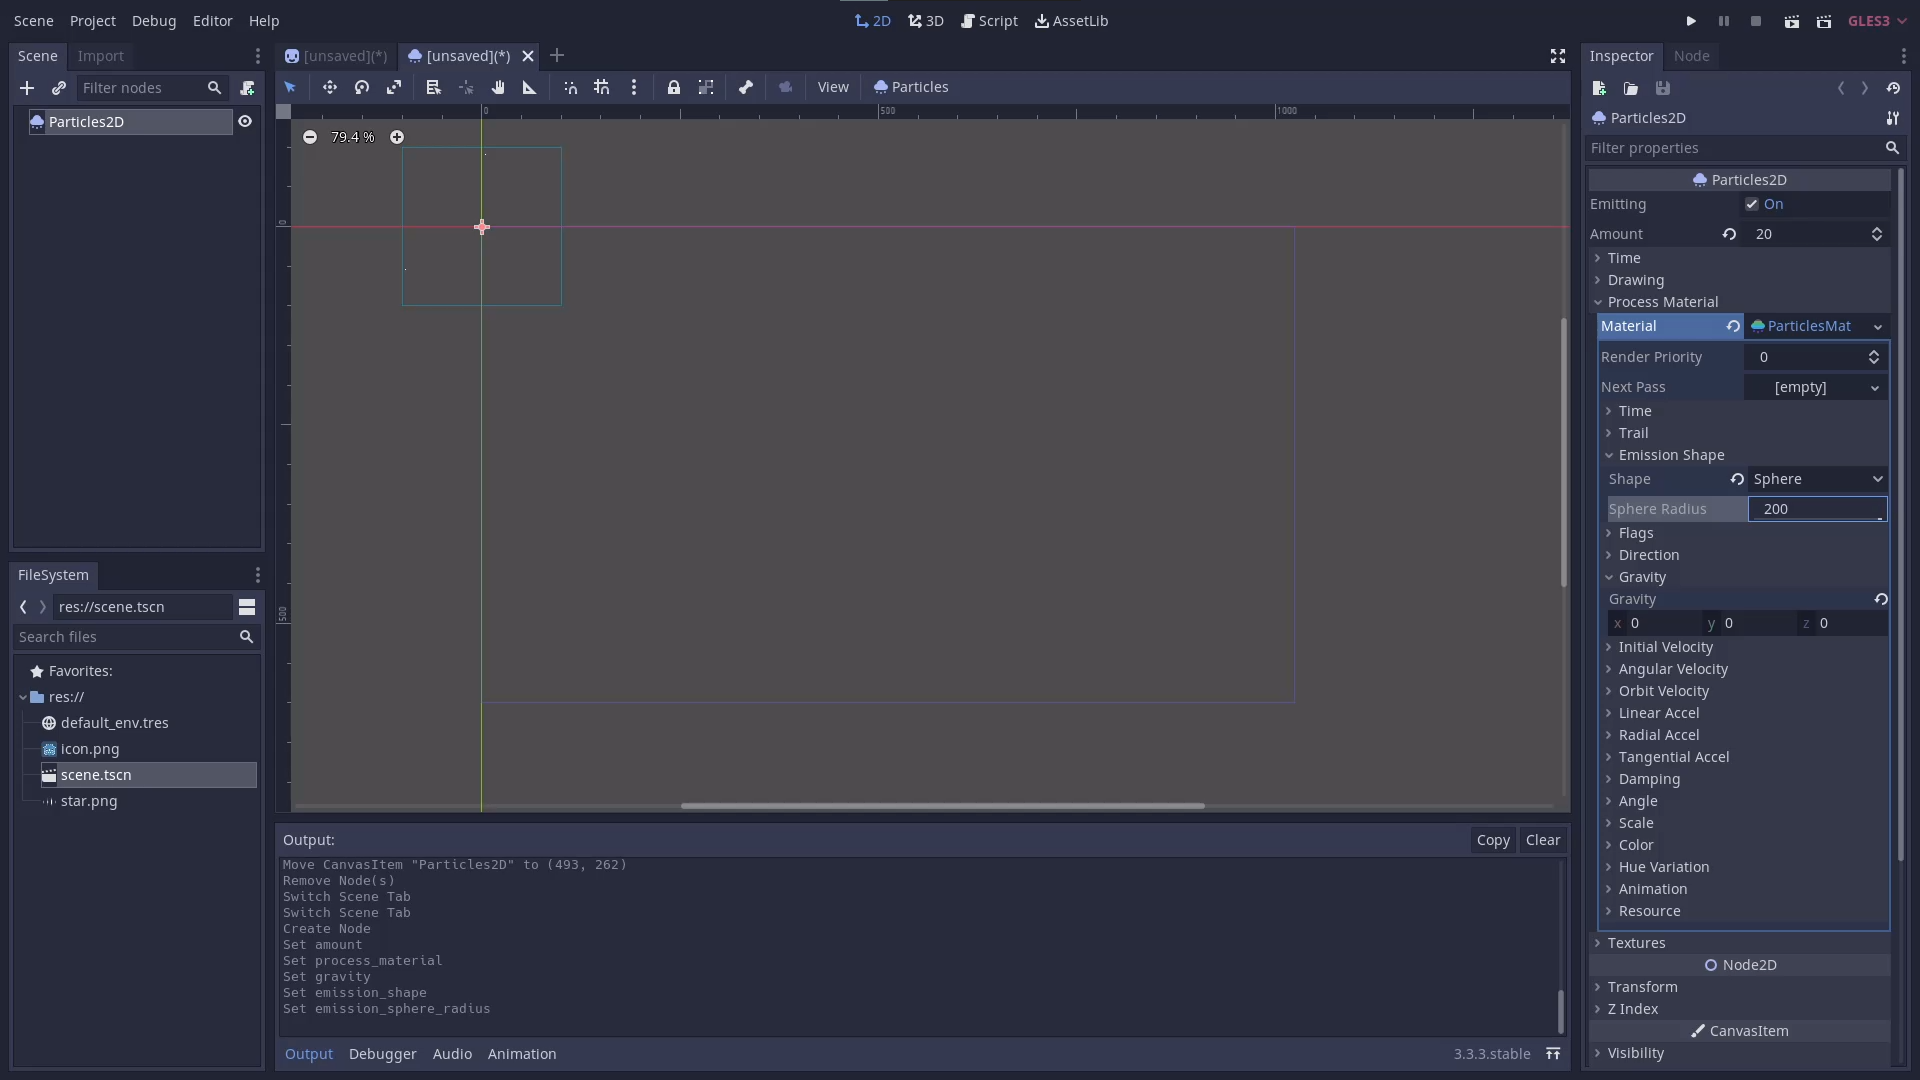
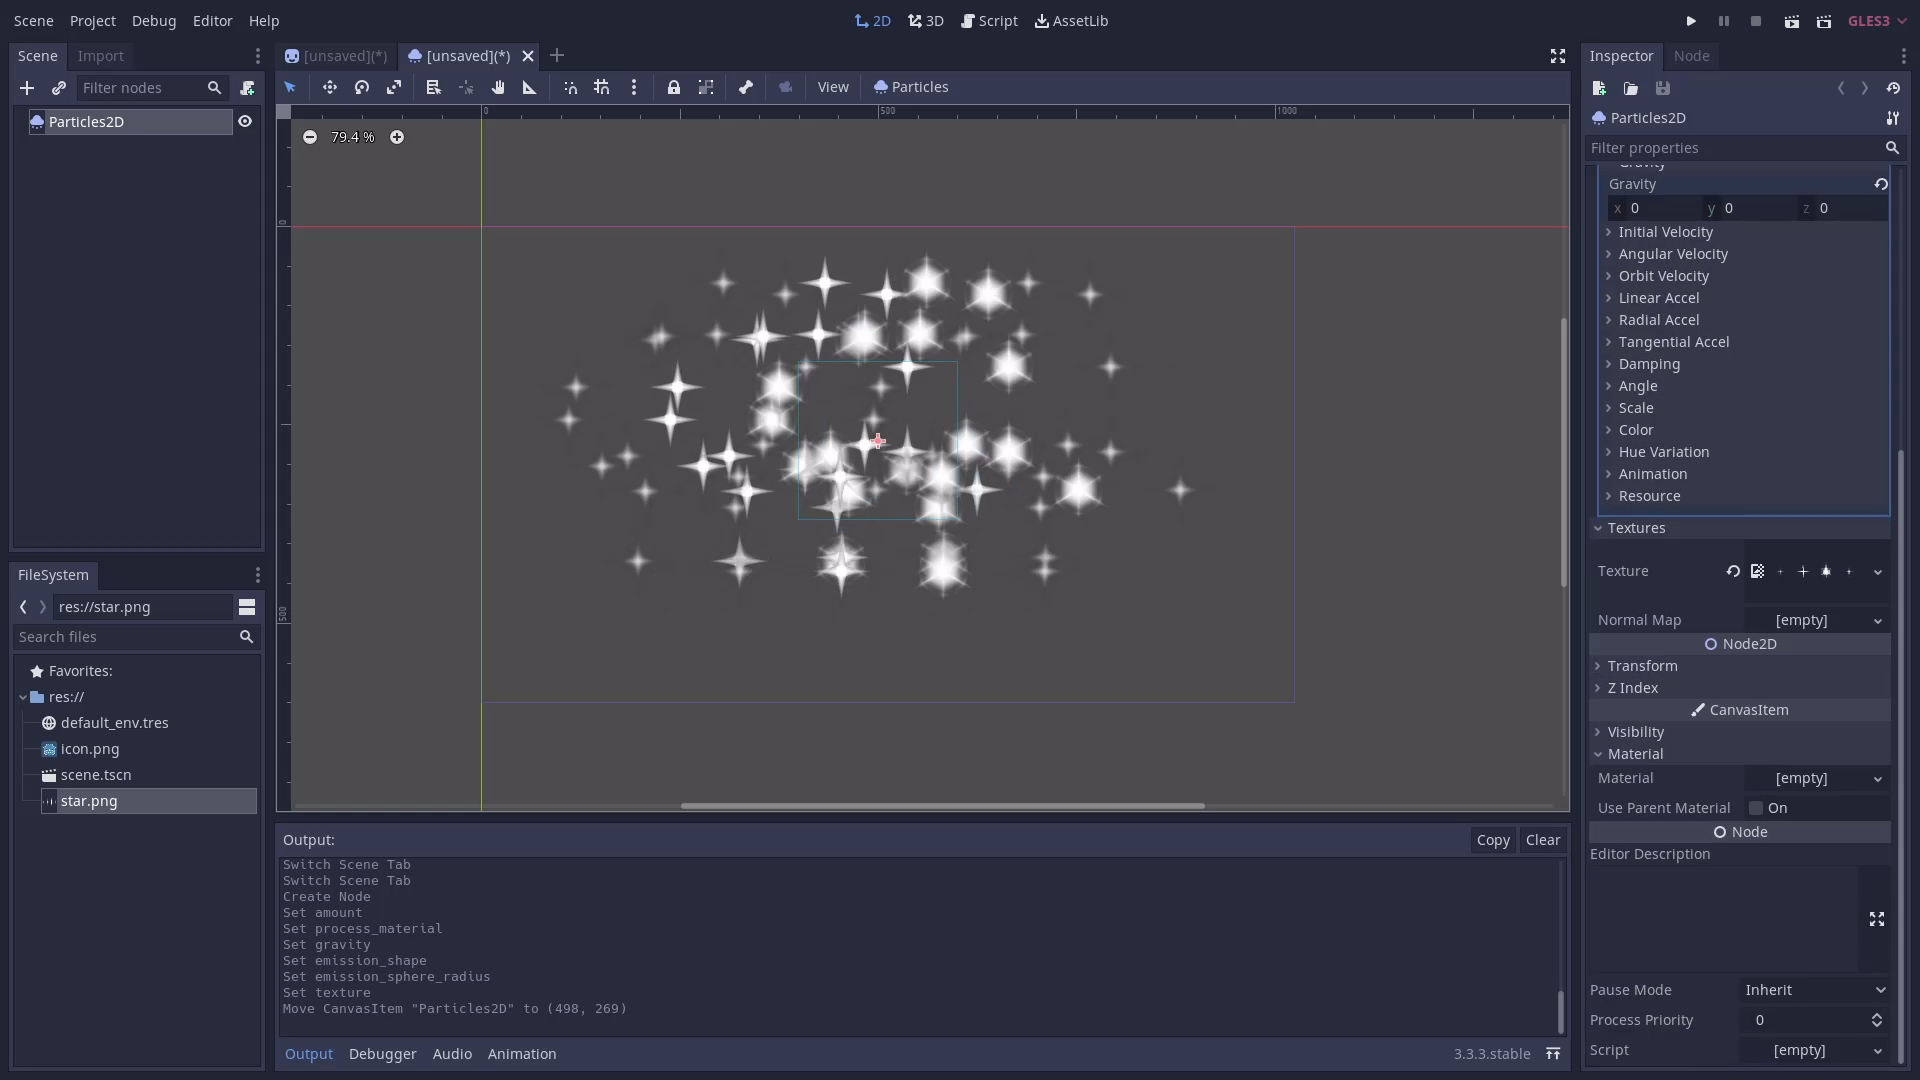
Next, add the spritesheet as a texture under Textures. At this point you should see the entire spritesheet being used as a particle.
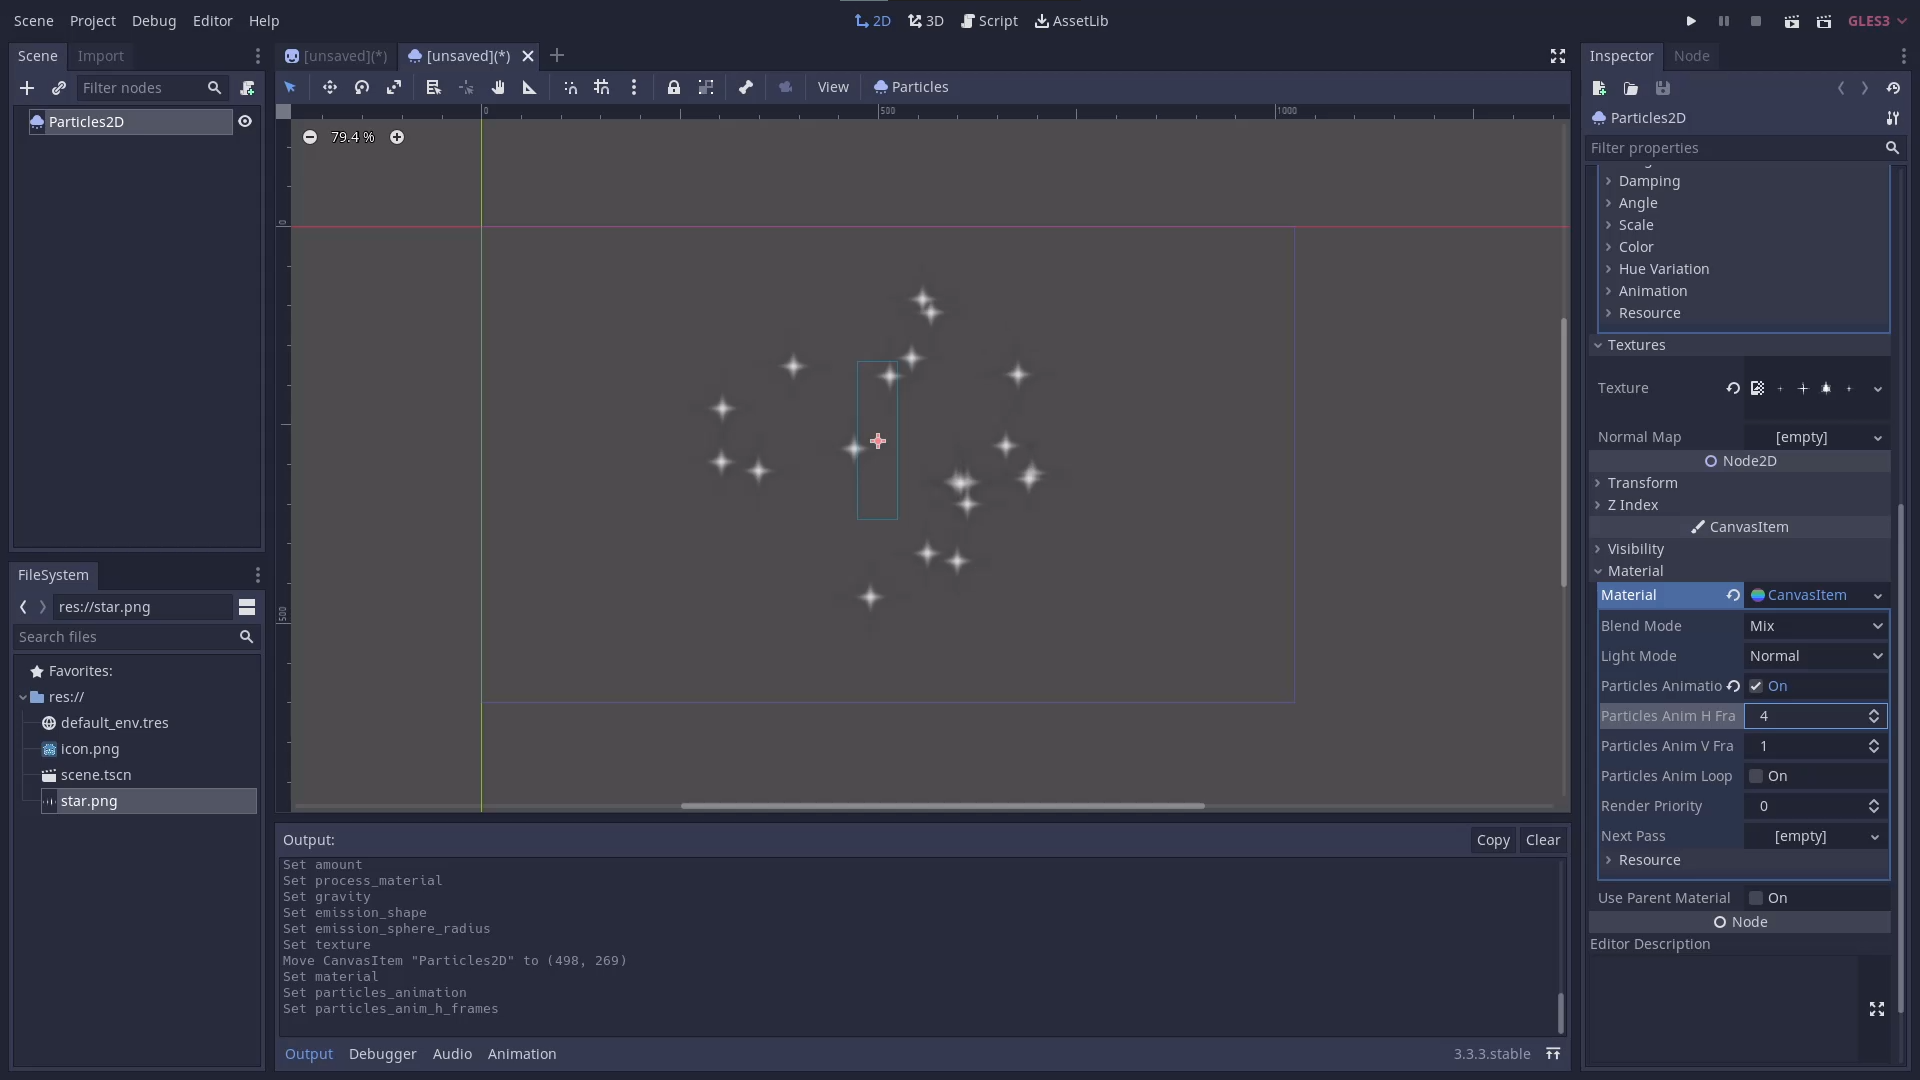
Now it’s time to actually inform the particle emitter that this texture is a spritesheet. Under the Materials tab, add a new CanvasItemMaterial and check Particles Animation. Set the values within as desired.
- Particles Anim H Frames: How many frames are horizontally in the image (in our case there are 4)
- Particles Anim V Frames: How many frames are vertically in the image (in our case there is 1)
- Particles Anim Loop: Does the animation loop? (You could check this for our animation, but in this case I’m not going to since I want the particles to twinkle)
Once you have everything configured, you should now see only the first frame of animation being used for the particles.
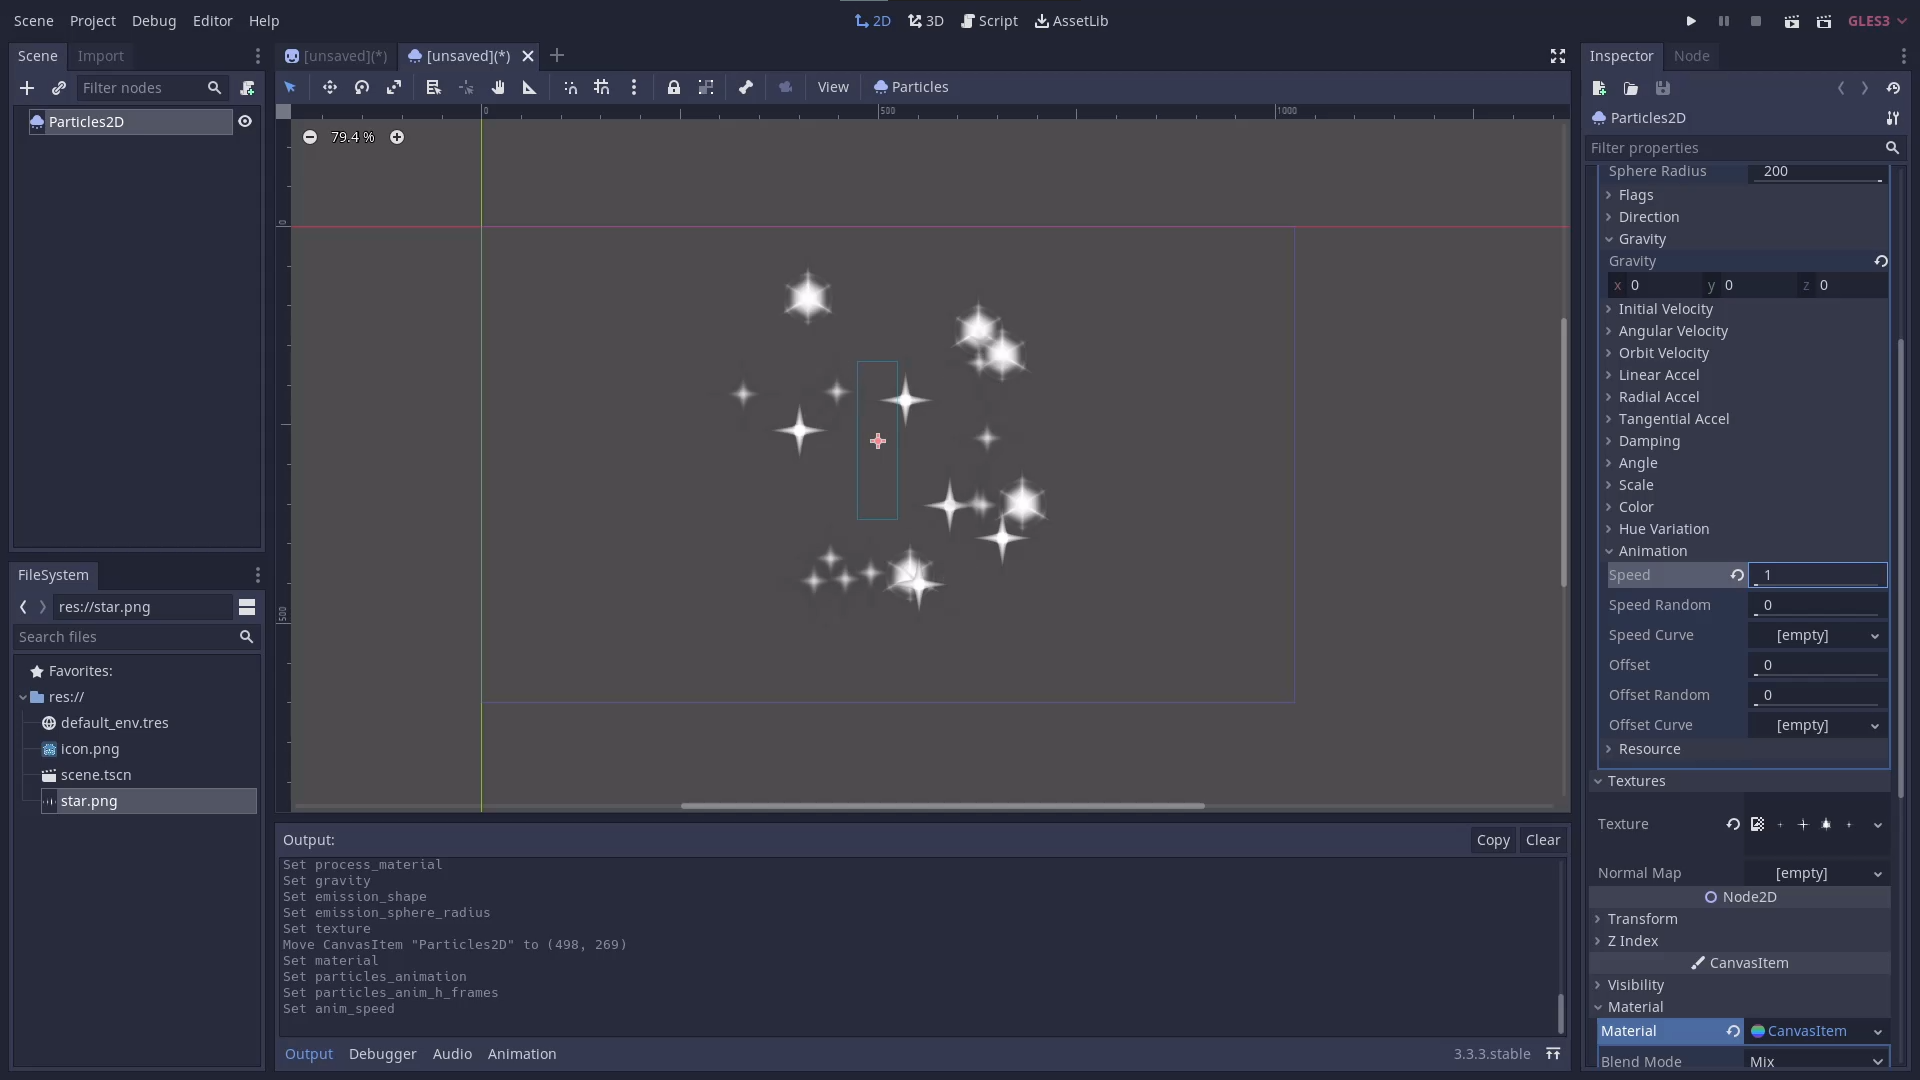
Now you can go back into the particle material and configure the playback of the animation under the Animation tab. The Godot documentation does not explicitly state what the unit of speed is here, but after some testing it appears to be how many times the animation should play over the particles lifetime. So by setting the playback speed to 1, as I’ve done below, the animation will play through one time before the particle is destroyed.
And that’s it! You can see in the below final result below that each particle animates itself over the course of its life.