Bite-Sized Godot: Pixel-perfect collision polygons on sprites
Godot comes with a variety of built-in collision shapes that are easy to configure, but sometimes you want something more like the artwork representing it, and drawing individual collision polygons can be a hassle. Plus, if you want to programmatically adjust the graphics and collision shapes together, drawing isn’t a great fit. But Godot also comes with options for generating collision polygons from an image, both in the editor and via code. Let’s dive in…
Via the editor
Let’s start out with the happy path: You have a sprite that won’t change at runtime and want to get a collision shape that matches the artwork. In this case, we can use a tool built into the editor. Just select your sprite, select “Sprite” from the viewport toolbar, and select Create CollisionPolygon2D Sibling. This will open a window showing your sprite and the collision polygon Godot will generate. You can adjust the Shrink and Grow factors if you want a buffer within or outside of the shape, but Simplification is the real star of the show. This value adjusts the level of detail in the resulting polygon. Higher values generate a simpler shape while lower values generate a more defined shape at the cost of more vertices in the resulting polygon. Play with this until you have a value you like (selecting “Update Preview” as necessary to see your changes in this window or even just generating a polygon and looking at it in the editor since this process is generally quite fast).
Once you hit “Create CollisionPolygon2D”, you’ll have a new collision polygon at the same level of the active scene as your sprite. From here, you can use it on any physics body that you like, letting you generate complex physics shapes quickly. This is also a great choice when you want non-rectangular buttons since you can pair this with an Area2D and listen to mouse events on this shape.
Via code
The editor technique works great, but we don’t always have a simple, static scene to work with. Maybe the user can customize their character, for instance, and you’d rather not pre-generate collision shapes for every possible graphic and have to load them at runtime. Maybe you’re doing some procedural content generation and need to also generate collisions procedurally. Or maybe you just prefer to do things via code.
The secret is the opaque_to_polygons function in the BitMap class. The current docs are a bit… nonexistent, but going to the latest branch of the docs shares some additional details:
Array opaque_to_polygons ( Rect2 rect, float epsilon=2.0 ) const
Creates an Array of polygons covering a rectangular portion of the bitmap. It uses a marching squares algorithm, followed by Ramer-Douglas-Peucker (RDP) reduction of the number of vertices. Each polygon is described as a PackedVector2Array of its vertices.
This function takes the data in a BitMap object and generates polygons to cover the area desired (meaning you can cover one frame of a sprite sheet, for instance) and with a detail level based on the desired epsilon value.
So all we need is to get our data into a BitMap and we’re good to go! While you can generate the data manually, that’s beyond the scope of today’s post, so let’s just look at how we can get data from a Sprite. Another function on the BitMap class will come in handy here: create_from_image_alpha. As the docs state, this function will generate a bitmap that matches a given image, taking into account transparency as defined by the given alpha threshold. If you’re just using a basic image on a sprite, then the sprite will have an ImageTexture as its texture. This texture does not contain the actual image data we need, but getting that is trivial. Assuming our code is running on a Sprite, we can just do texture.get_data(). If you’re using an AnimatedSprite and want to generate a collision shape off of a specific frame, you’ll have to go a few more layers in, but it’s still fairly simple. Assuming your code is running on the AnimatedSprite, the code is frames.get_frame(animation_name, frame_index).get_data().
Once you have your data, we can work backwards through the last few paragraphs:
- Get the Image of our texture (done!)
- Create bitmap data from the image
- Generate collision shapes from the bitmap data
Combining the steps together, here’s the code to generate collision polygons from our image data:
var bitmap = BitMap.new()
bitmap.create_from_image_alpha(texture.get_data())
# Will cover the entire polygon
var polys = bitmap.opaque_to_polygons(Rect2(Vector2.ZERO, texture.get_size()))
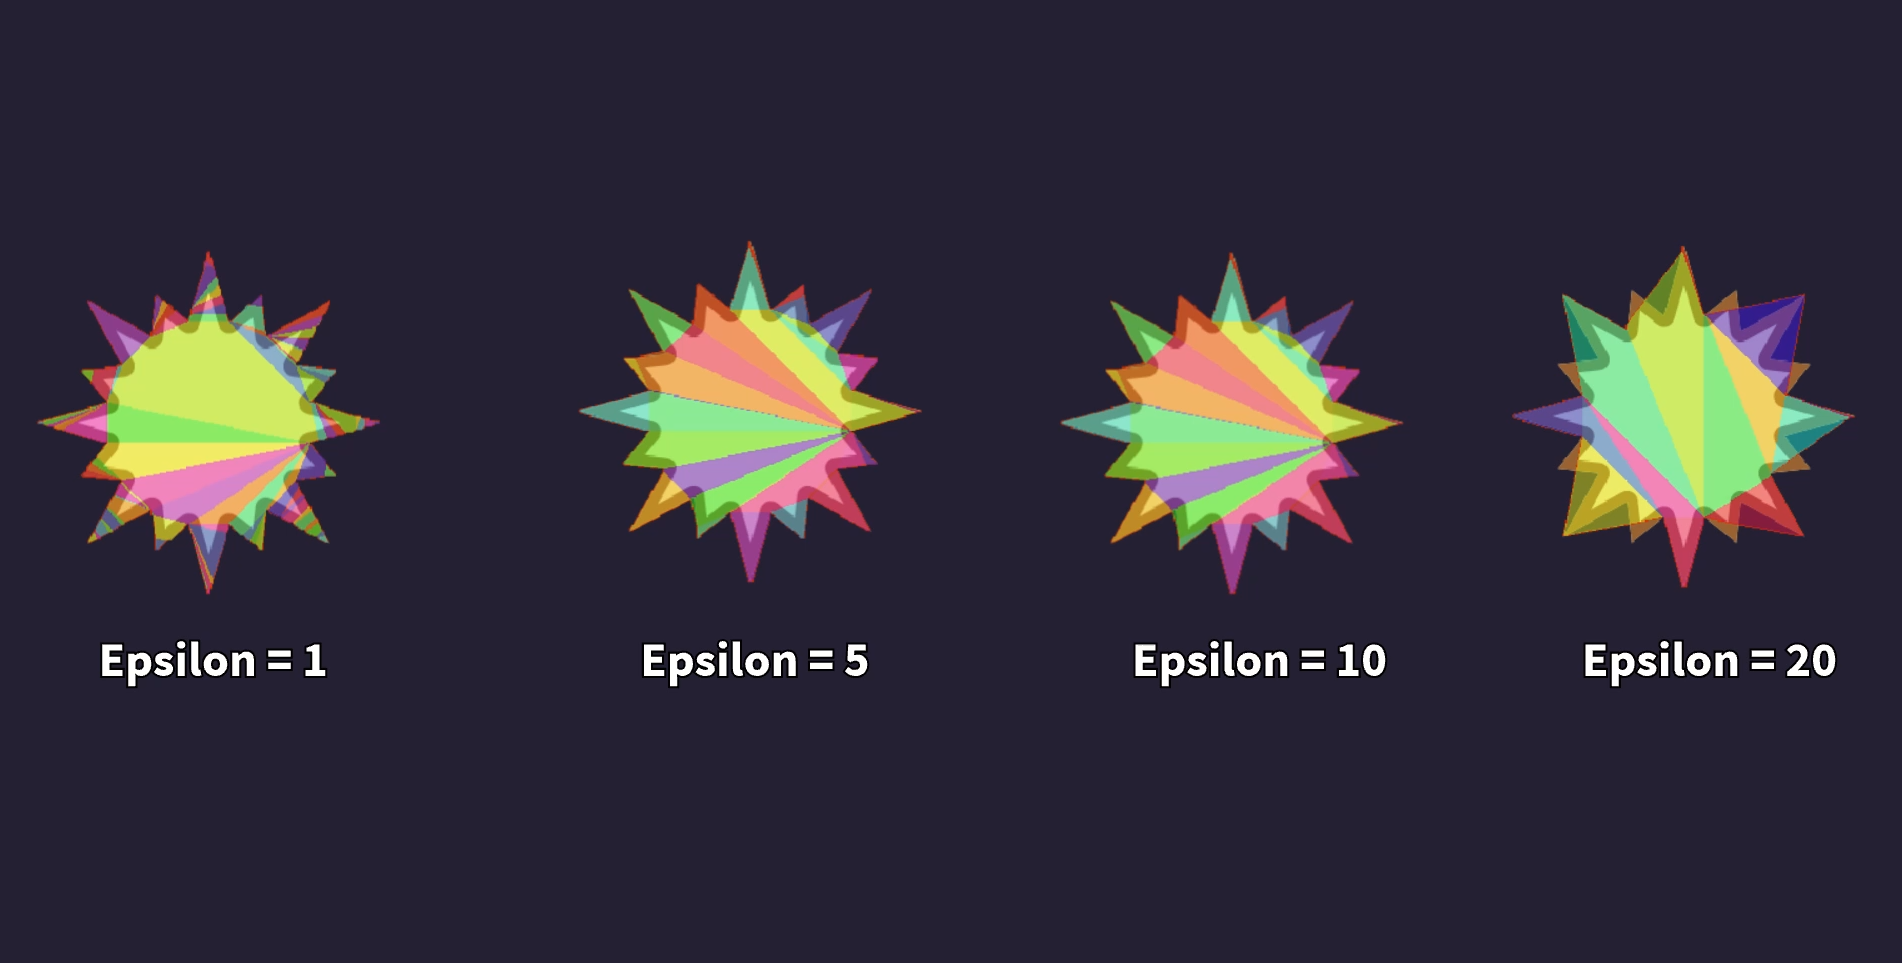
Just like the editor’s Simplicity parameter, we can adjust the second parameter, epsilon, to set how detailed our generated polygons should be. As always, pick this based off of your desired balance between performance and accuracy.
var polys_detailed = bitmap.opaque_to_polygons(Rect2(Vector2.ZERO, texture.get_size()), 1)
var polys_simple = bitmap.opaque_to_polygons(Rect2(Vector2.ZERO, texture.get_size()), 10)
Once you have polygons you like, you can add each one to a CollisionPolygon2D node wherever you need. We’ve looked at this with Polygon2D and Line2D nodes previously, but let’s go ahead and review the process. For instance, today’s sample project has code to create both RigidBody2D bodies and simple objects that can detect a mouseover event with pixel-perfect precision based on a given Sprite. The scene and sprite for this mouseover code look like this:
extends Sprite

onready var area = $Area2D

func _ready() -> void:
	area.connect('mouse_entered', self, '_on_mouse_entered')
	area.connect('mouse_exited', self, '_on_mouse_exited')

	var bitmap = BitMap.new()
	bitmap.create_from_image_alpha(texture.get_data())

	var polys = bitmap.opaque_to_polygons(Rect2(Vector2.ZERO, texture.get_size()))
	for poly in polys:
		var collision_polygon = CollisionPolygon2D.new()
		collision_polygon.polygon = poly
		area.add_child(collision_polygon)

		# Generated polygon will not take into account the half-width and half-height offset
		# of the image when "centered" is on. So move it backwards by this amount so it lines up.
		if centered:
			collision_polygon.position -= bitmap.get_size()/2

func _on_mouse_entered() -> void:
	modulate = Color.red

func _on_mouse_exited() -> void:
	modulate = Color.white
Very cool! This method works the exact same as on a RigidBody2D, but you can check out the sample project if you want to see it in action.
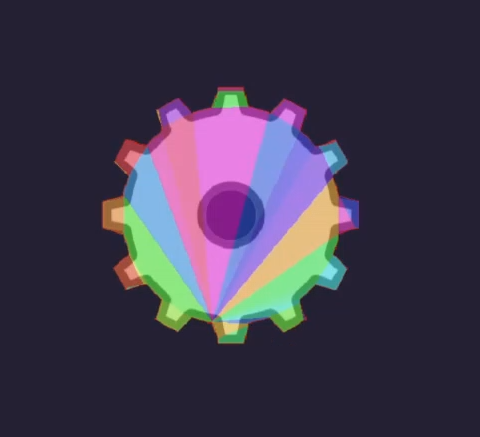
One other final thing to note is that while this method does handle concave objects, it does not handle objects with holes in them, such as the cog in the graphic below. If you need holes to be represented, you can use the first parameter in opaque_to_polygons to specify regions of the bitmap to generate chunks of collision shapes with and then piece these chunks together, but that’s left as an exercise for the reader.
Conclusion
And that’s it! This is something that I have personally struggled to figure out in past projects (the code method, in particular), so hopefully this helps some of you out as well. As always, check out the documentation links and sample project if you want to learn more.