Bite-sized Godot: Scene transition effects
Note: This article was originally written for Godot 3, but the code is almost the same for Godot 4. The only difference is the replacement of the “yield” syntax with the “await” syntax, and changing “change_scene” to “change_scene_to_file”. As such, I’ll leave this article as-is as a reference for both Godot 3 and 4. At the end of the article, I will show the full Godot 4 equivalent code. Just know that you can follow along more or less as-is as long as you keep these two small replacements in mind.
So your Godot game is coming along great, and you’re ready to really start polishing it. You started out by doing a simple call to get_tree().change_scene() when you want to change scenes, which works, but isn’t a very nice experience for the player since the game just instantly changes to the new scene. It’s even worse if you have any amount of loading to do, since the game hangs on the previous scene and the player isn’t sure if the game has frozen or not.
Instead, you’d like to show a small animation, or at least a static loading screen, to the player so that they know the game is working as intended. Plus, this will let you cover up any hitches from loading in the new content and unloading the old content. Here’s how we can do this.
A basic transition effect
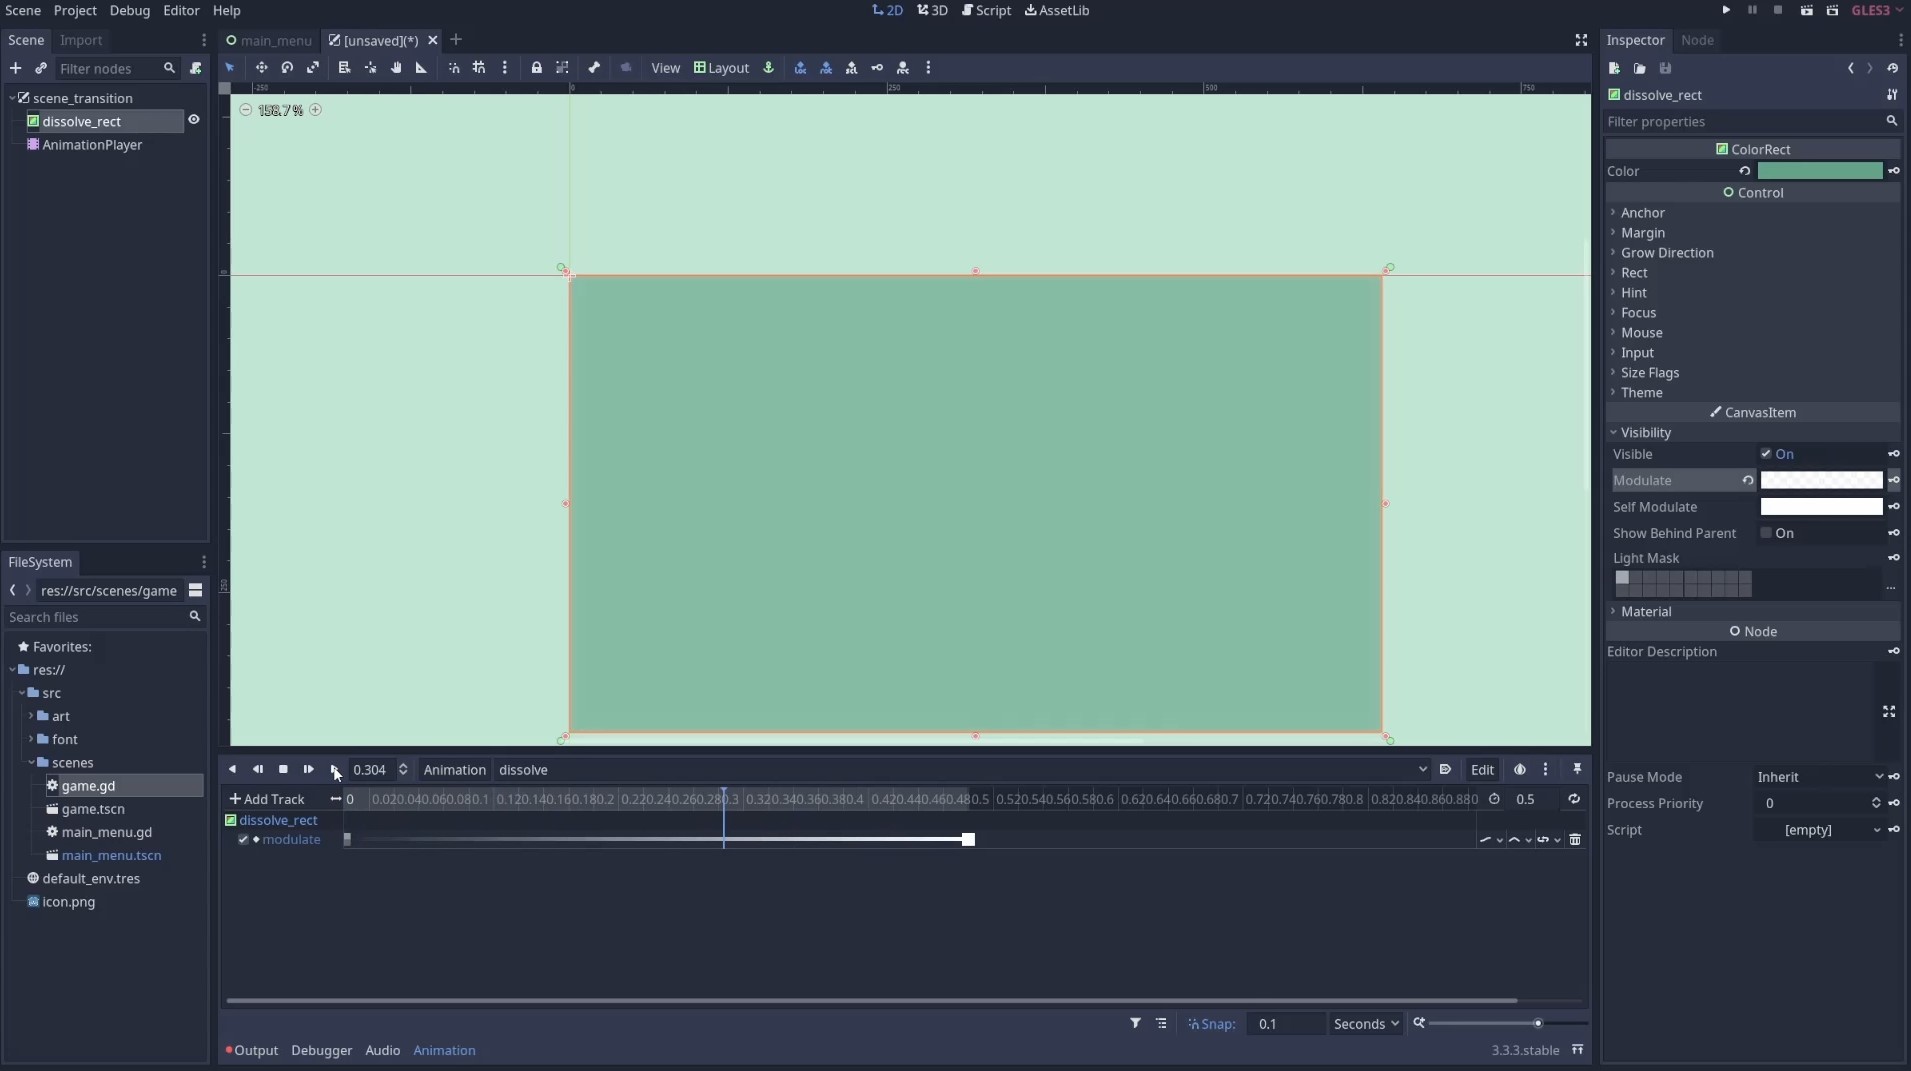
We’ll start by making a scene called scene_transition with a root node type of CanvasLayer so that it appears on top of everything else. We’ll then add a ColorRect named dissolve_rect, configure it appropriately to our game and style preference, and make sure to set it to ignore mouse events so it doesn’t interfere with user input. We also want to set its module alpha to 0 so that it is invisible. Next, we add an AnimationPlayer node with two animations: RESET and dissolve. In case you’re unfamiliar with it, the RESET animation is special animation in Godot and will run whenever the game starts so that you can make sure you have a consistent starting point for your animations. We’ll use this to make it so our dissolve rectangle always defaults to invisible by adding a keyframe while its modulate alpha is 0.
For the dissolve animation, make it about half a second long and add two keyframes:
- Time 0 and an alpha value of 0
- Time 0.5 (or whatever your animation length is) and an alpha value of 255
When you play the animation, you should see your color rect fade in. We’ll use this animation to cover up our scene transitions and then play it backwards, so it fades out, after we change scenes.
Connecting it
To make it easy to swap with our current code, we’ll add a script to scene_transition and add the following function, which will let us switch to a scene by path, the same way we do with get_tree().change_scene(), but we’ll wait until the dissolve animation has concluded to do so. Once the scene has transitioned, we’ll fade the dissolve rectangle back out and reveal our newly loaded scene.
extends CanvasLayer

func change_scene(target: String) -> void:
	$AnimationPlayer.play('dissolve')
	yield($AnimationPlayer,'animation_finished')
	get_tree().change_scene(target)
	$AnimationPlayer.play_backwards('dissolve')
We’ll then make this scene an AutoLoad so that we can access it from anywhere and can safely know that it is available in the application tree. To connect our fancy new transition effect, we’ll just go through our application anywhere we want to use it and swap get_tree().change_scene() with SceneTransition.change_scene() (assuming you used the AutoLoad name SceneTransition)
Not too shabby!
More effects
From here you can customize as you like, making use of shaders, custom animations, loading in the background so you can show loading progress if needed, and so on. For example, we could add a parameter to our change_scene() function that allows us to choose from multiple animations so that we can show different transitions in different settings. In today’s sample project, we use this so the main menu can play the dissolve animation to change scenes while the game scene plays a wipe animation with a cloud graphic that provides a smooth, pleasant transition:
extends CanvasLayer

func change_scene(target: String, type: String = 'dissolve') -> void:
	if type == 'dissolve':
		transition_dissolve(target)
	else:
		transition_clouds(target)

func transition_dissolve(target: String) -> void:
	$AnimationPlayer.play('dissolve')
	yield($AnimationPlayer,'animation_finished')
	get_tree().change_scene(target)
	$AnimationPlayer.play_backwards('dissolve')

func transition_clouds(target: String) -> void:
	$AnimationPlayer.play('clouds_in')
	yield($AnimationPlayer,'animation_finished')
	get_tree().change_scene(target)
	$AnimationPlayer.play('clouds_out')
And the equivalent Godot 4 code:
extends CanvasLayer

func change_scene(target: String, type: String = 'dissolve') -> void:
	if type == 'dissolve':
		transition_dissolve(target)
	else:
		transition_clouds(target)

func transition_dissolve(target: String) -> void:
	$AnimationPlayer.play('dissolve')
	await $AnimationPlayer.animation_finished
	get_tree().change_scene_to_file(target)
	$AnimationPlayer.play_backwards('dissolve')

func transition_clouds(target: String) -> void:
	$AnimationPlayer.play('clouds_in')
	await $AnimationPlayer.animation_finished
	get_tree().change_scene_to_file(target)
	$AnimationPlayer.play('clouds_out')
You really can go any direction you want from here now that you have a top-level scene that can control when and how to transition between scenes. Let your imagination go wild!