Implementing state machines and the state pattern in Godot
In the last post I gave an introduction to finite state machines and the state pattern, but kept everything to pseudo-code since the theory alone can be a lot to wrap your head around. In this post, we’ll look at actually implementing a state machine in Godot. I’ll go ahead and say that what I’ve done here is by no means the only or definitive way to implement a state machine in engine. I’ve seen a few different methods used and they all have pros and cons, but I do think that my method offers some nice conveniences and keeps the codebase a bit cleaner, so I’m going to throw it out there as an option.
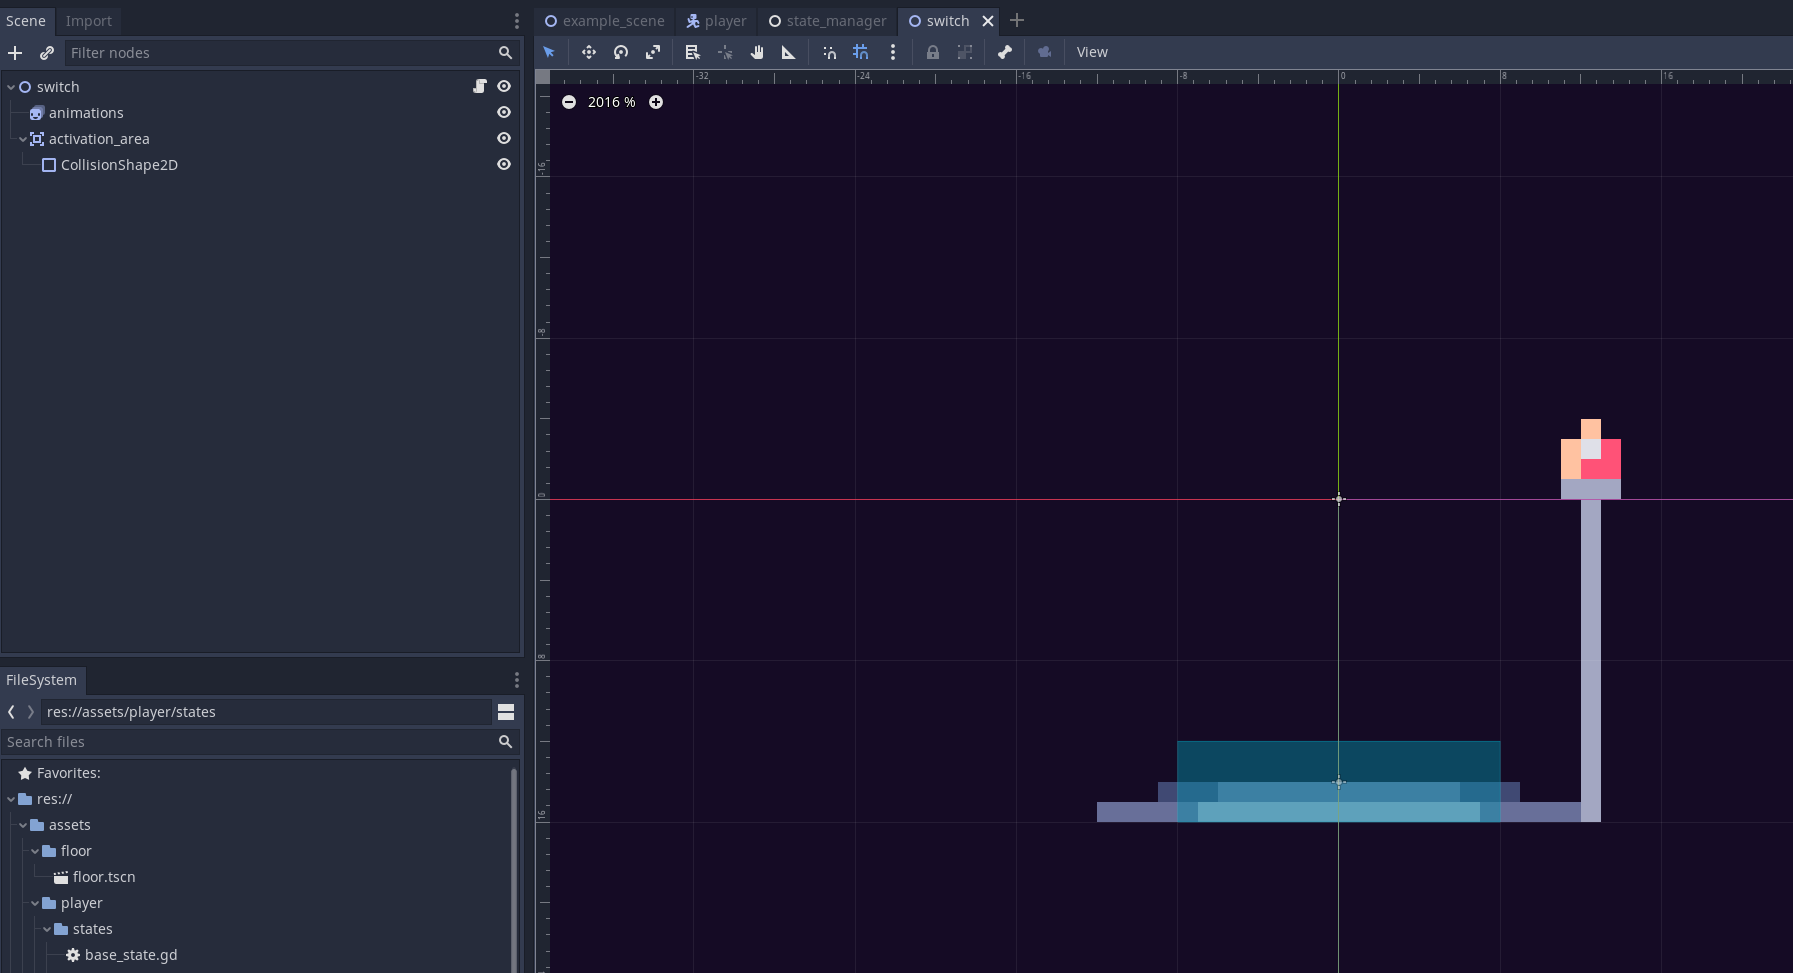
The test project will be a basic platformer with a switch that the player can hold down to charge a light and make it blink faster. It’s fairly simple, but it gets the idea across rather well in my opinion.
Using an enumerator
I’ll start out with an example of using enumerators to manage state. There’s not a whole lot to say about this method, as it looks more or less exactly like it did in the last post and there’s nothing specific to Godot about its implementation. Still, for the sake of completeness, here’s what the scene and code looks like from the sample project on a switch that charges a blinking light, making it blink faster the longer it’s held down.
extends Node2D

enum State {
	Off,
	On
}

const CHARGE_RATE = 1
const MAX_CHARGE = 4
const MIN_CHARGE  = 1

var current_state = State.Off
var charge_amount = MIN_CHARGE

# To avoid hardcoding paths within our code
onready var activation_area = $activation_area
onready var animations = $animations

func _ready():
	activation_area.connect("body_entered", self, "_on_body_entered")
	activation_area.connect("body_exited", self, "_on_body_exited")

func _process(delta: float) -> void:
	match current_state:
		State.Off:
			pass
		State.On:
			_process_on_state(delta)

func _process_on_state(delta: float) -> void:
	# Not 100% accurate to the max value, but good enough for demonstration purposes
	# Just use the clamp function if you want a hard limit at the max charge amount
	if charge_amount < MAX_CHARGE:
		charge_amount += delta * CHARGE_RATE
		# speed_scale is a multiplier of the base frame rate
		# so increasing this value makes the light blink faster
		animations.speed_scale = charge_amount

func _change_state(new_state: int) -> void:
	current_state = new_state
	animations.speed_scale = 1

	match current_state:
		State.Off:
			animations.play('off')
		State.On:
			charge_amount = MIN_CHARGE
			animations.play('on')

func _on_body_entered(body: PhysicsBody2D) -> void:
	if body is Player:
		_change_state(State.On)

func _on_body_exited(body: PhysicsBody2D) -> void:
	if body is Player:
		_change_state(State.Off)
The most important thing to note is that I use a switch statement (or “match” in Godot’s case) whenever there is logic dependent on the current state. This makes it easy to expand the codebase over time and keeps things neater than using a bunch of if statements to figure out which state the object is in. The only other thing I’ll point out is that I do a bit of cleanup at the top of my code by using onready var activation_area = $activation_area to store a reference to my child nodes that way if I move them around later (as can often happen as the game grows) I only have to change the reference to them once.
Implementing the state pattern
So with the enumerator method out of the way, let’s take a look at implementing the state pattern properly. I’m going to change the technique from what I showed you last week a bit, though, now that I’m specifically designing my state machine for Godot. If you’ll recall, the pseudo-code for changing states within the active state looked like this:
class JumpState implements State:
    func input(event) -> State:
        if DOUBLE_JUMP_PRESSED:
            return DoubleJumpState()
And you could use this same method with Godot, you’d just need to have a reference available for each state class. This could be done using the class_name keyword, which I’ve talked about previously, to make each class available in the global namespace:
extends State
class_name JumpState

func input(event) -> State:
    if DOUBLE_JUMP_PRESSED:
        return DoubleJumpState.new()
Or you could use a preload reference to keep things out of the global namespace:
extends State

const DOUBLE_JUMP_STATE = preload('res://double_jump_state.gd')

func input(event) -> State:
    if DOUBLE_JUMP_PRESSED:
        return DOUBLE_JUMP_STATE.new()
You could also take the same method above and use an exported variable so you can just drag and drop a reference to the script from within the editor. I don’t think any of these methods are too bad, but I think there’s a better way we can do things. Rather than generate new state classes and delete old ones every time we switch states, we can place each state into its own node and get a reference to it as needed, using the enter() and exit() functions to handle initialization and destruction logic. In my opinion, this gives the best of both static and runtime generated states, plus it lets us make use of some of Godot’s features. By using a node for each state we get the following benetfits:
- Each object gets its own pseudo-static state, reducing data churn but maintaining reusability
- We can keep our codebase cleaner and more loosely coupled by not polluting the global namespace or keeping a hardcoded reference to each script
- We can use Godot editor features such as exported variables to make things easier to tweak and reuse as we go along
I’m also going to use an intermediary node to organize and handle communication to/from the states that way the main Player script can stay fairly minimal. This gives the following scene structure on the Player scene:
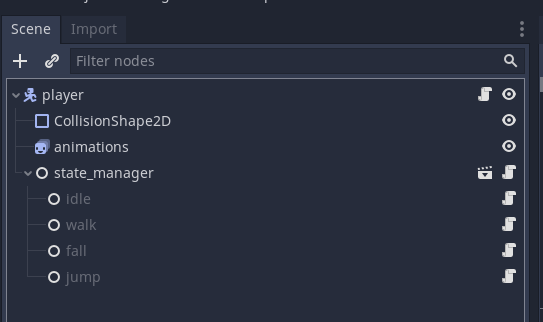
Let’s take a look at how all of this fits together.
The Player
Starting at a high level and moving downward, the Player script is the following:
class_name Player
extends KinematicBody2D

var gravity = 4
var velocity = Vector2.ZERO

onready var animations = $animations
onready var states = $state_manager

func _ready() -> void:
	# Initialize the state machine, passing a reference of the player to the states
	# that way they can move and react accordingly
	states.init(self)

func _unhandled_input(event: InputEvent) -> void:
	states.input(event)

func _physics_process(delta: float) -> void:
	states.physics_process(delta)
It’s clean and minimal. I just delegate to the state manager when I have state dependent logic to handle, such as with the _physics_process or _unhandled_input functions. In the _ready function I go ahead and initialize the state machine and pass a reference of the Player object to the states so they can do things like move the character around. Normally, giving a child object access to the parent like this would be a problematic design choice, but since the states are really just hot-swappable “brains” for the player, I think it’s ok, though you could get around this by giving each state references to specific functions to call in the Player’s script, that way the Player is still the ultimate authority on things. It’s not a bad idea to consider it for a production project, but I’m going to stick with the simpler implementation for this demonstration so we can focus on the state machine itself.
The State Manager
The State Manager scene is just a Node with child nodes for each state:
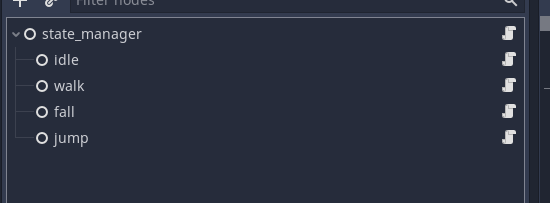
And the script:
extends Node

# Using enums for state names that way every script has the same interface
# while being more robust and less error prone than using strings
onready var states = {
	BaseState.State.Idle: $idle,
	BaseState.State.Walk: $walk,
	BaseState.State.Fall: $fall,
	BaseState.State.Jump: $jump,
}

var current_state: BaseState

func change_state(new_state: int) -> void:
	if current_state:
		current_state.exit()

	current_state = states[new_state]
	current_state.enter()

# Initialize the state machine by giving each state a reference to the objects
# owned by the parent that they should be able to take control of
# and set a default state
func init(player: Player) -> void:
	for child in get_children():
		child.player = player

	# Initialize with a default state of idle
	change_state(BaseState.State.Idle)

# Pass through functions for the Player to call,
# handling state changes as needed
func physics_process(delta: float) -> void:
	var new_state = current_state.physics_process(delta)
	if new_state != BaseState.State.Null:
		change_state(new_state)

func input(event: InputEvent) -> void:
	var new_state = current_state.input(event)
	if new_state != BaseState.State.Null:
		change_state(new_state)
The first thing you’ll probably notice is that I’m using an enumerator (State within the BaseState class) to store a reference to each state in a dictionary. I prefer this method over using a string to reference states (ie change_state("idle")) as it is less prone to errors and provides a consistent interface wherever I need it. The downside is that Godot’s typing system does not like null values to be returned on functions expecting an integer as the returned value, meaning I have to return the enum value BaseState.State.Null when I actually don’t want to return anything. It’s a bit annoying, but I think it’s still better than using strings that can be prone to typos and changes in capitalization and so on.
The rest of the code is extremely similar to what I showed last week and there’s not much more to say about it beyond what the comments state. This is a fairly simple node that’s used to just offload a bit of work from the Player script.
Individual states
Each individual state is based off of the BaseState class:
class_name BaseState
extends Node

# Don't get confused, this is not the same as on the switch example
# This enum is used so that each child state can reference each other for its return value
enum State {
	Null,
	Idle,
	Walk,
	Fall,
	Jump
}

export (String) var animation_name

var player: Player

func enter() -> void:
	player.animations.play(animation_name)

func exit() -> void:
	pass

# Enums are internally stored as ints, so that is the expected return type
func input(event: InputEvent) -> int:
	return State.Null

func process(delta: float) -> int:
	return State.Null

func physics_process(delta: float) -> int:
	return State.Null
This state provides a default implementation for each function that may get called by the state machine and creates the enumerator used to reference each state. It also stores a reference to the Player (untyped due to cyclic dependency issues in Godot) and automatically changes the Player’s animation when the state is entered. With animation_name exported, we can use the editor to just type in the name of the animation that should be played for each state.

With the base state class created, let’s take a look at the idle state:
extends BaseState

func input(event: InputEvent) -> int:
	if Input.is_action_just_pressed("move_left") or Input.is_action_just_pressed("move_right"):
		return State.Walk
	elif Input.is_action_just_pressed("jump"):
		return State.Jump
	return State.Null

func physics_process(delta: float) -> int:
	player.velocity.y += player.gravity
	player.velocity = player.move_and_slide(player.velocity, Vector2.UP)

	if !player.is_on_floor():
		return State.Fall
	return State.Null
Since BaseState takes care of the default implementations, we just need to override the functions we care about, in this case that’s just the input and physics_process functions. We can make things a bit more interesting with the jump state, though:
extends BaseState

export (float) var jump_force = 100
export (float) var move_speed = 60

func enter() -> void:
	# This calls the base class enter function, which is necessary here
	# to make sure the animation switches
	.enter()
	player.velocity.y = -jump_force

func physics_process(delta: float) -> int:
	var move = 0
	if Input.is_action_pressed("move_left"):
		move = -1
		player.animations.flip_h = true
	elif Input.is_action_pressed("move_right"):
		move = 1
		player.animations.flip_h = false

	player.velocity.x = move * move_speed
	player.velocity.y += player.gravity
	player.velocity = player.move_and_slide(player.velocity, Vector2.UP)

	if player.velocity.y > 0:
		return State.Fall

	if player.is_on_floor():
		if move != 0:
			return State.Walk
		else:
			return State.Idle
	return State.Null
The jump state exports vars specific to it so they can be changed in the editor. It also has a custom enter function that applies an upwards force to the player so that they jump when first entering the state, but still calls the inherited enter function so that the animation is changed as well without having to rewrite that code. In the physics_process function, we handle the physics simulation and change states as needed, using a custom move_speed just in case you want the player to move at a different speed when in the air.
Final thoughts
And that’s it for the code breakdown. I’m going to skip showing the walk and fall states as they’re not doing anything particularly interesting or different from the idle and jump states, but that should be enough to show you how the state pattern can be implemented in Godot. Altogether, it’s a pretty slick design pattern that’s handy to keep in mind when developing your games. If you’re still uncertain about it, try downloading the source code for the sample project and tracing the flow of logic in the program. You may also want to go back and review the theory post if you’re uncertain why we did what we did. The theory behind the implementation is the same, we just take advantage of some of the features Godot offers to give us an even more powerful system.