Advanced state machine techniques in Godot 4
In the last post, I showed some basic techniques for managing state in your game. Today, I’m going to show you some techniques you can use when you need something more complex than just a simple state machine. But be warned, there are a lot of ways to make a state machine, and this post is by no means an attempt to be anything close to an exhaustive look at the subject, but rather address a few common pain points and show some techniques for dealing with them. By the end of the post, you should have a better idea of how you can make the right state machine for your game.
For demonstration purposes, I’ll show how to modify the starter state machine I showed in my last post, but these techniques are not unique to my implementation and should work for a number of state machine implementations if you understand the concepts.
Code reuse and flexibility
To kick things off, let’s first discuss a few concepts that can be used to solve a variety of problems with a growing state machine.
Dependency Injection
Dependency injection is about supplying dependencies at runtime, rather than hardcoding them, and is actually something I already showed the last post, I just didn’t address it at the time. Recall that the states declare a parent variable to hold a reference to the Player class, but that the variable doesn’t actually get set until the player sets it in its ready function:
# state.gd

var parent: Player
# player.gd
func _ready() -> void:
	# Initialize the state machine, passing a reference of the player to the states,
	# that way they can move and react accordingly
	state_machine.init(self)
That’s dependency injection. The states declare they depend on having a reference to a Player, but not any specific instances of a Player. Compare that to if each state did have a hardcoded path to a specific instance:
# state.gd

var parent: Player = get_node('../../player')
Not very flexible as our code is looking for a singular node to control, and is also requiring our game tree follow a specific structure. Dependency injection frees our code from the details of how we get a reference to an object.
With this concept in mind, one technique for making state machines flexible is to design them so that they can use different instances of the same type. If all of your game objects use the same physics implementation, such as Godot’s CharacterBody classes, you can design your states around this class for handling movement and other physics logic, declare that’s the type of object they’ll control, and share that same physics code across your game.
The current state code relies on a Player instance, which is better than nothing in case we want to have different player-controlled characters, but it could easily be made more generic by letting it control any similar CharacterBody2D node, which is the type of physics body the player is. Updating my previous state machine code, I just change the declaration in state.gd from Player to CharacterBody2D and update the type declaration in state_machine.gd to match. As the Player class already inherits from CharacterBody2D, its script doesn’t require any changes.
# state.gd

# Now the states are compatible with any CharacterBody2D object
var parent: CharacterBody2D
# state_machine.gd

func init(parent: CharacterBody2D) -> void:
	for child in get_children():
		child.parent = parent
And now our state machine can move any similar physics body, but there’s still more we can abstract out. Let’s also update the reference to our animations, which are currently referenced as a child of the parent node:
# state.gd

func enter() -> void:
	parent.animations.play(animation_name)
Rather than always assuming there’s an animations property on our parent, we can create another dependency in our state class for the AnimatedSprite2D class, which should be sufficient for a variety of animated entities, including the player. As this is a new dependency, and not just replacing an existing one, we’ll need to update the entire chain of initialization this time, from the player to the state machine to the state:
# state.gd

var animations: AnimatedSprite2D
var parent: CharacterBody2D

func enter() -> void:
	animations.play(animation_name)
# state_machine.gd

func init(parent: CharacterBody2D, animations: AnimatedSprite2D) -> void:
	for child in get_children():
		child.parent = parent
		child.animations = animations
# player.gd

@onready
var animations = $animations

@onready
var state_machine = $state_machine

func _ready() -> void:
	state_machine.init(self, animations)
And with that, we’ve already made our states more flexible as we can support different physics-based objects and we no longer make any assumptions about the structure of the parent object, but there’s still more to do before we can really make use of our state machine on other objects.
Components and interfaces
Dependency injection has fixed some of our limitations, but it still doesn’t open up our state machine’s functionality very much. For example, our original movement code has several lines that reference user inputs, such as: var movement = Input.get_axis('move_left', 'move_right') * move_speed and the check for jump movement: Input.is_action_just_pressed('jump'), which is problematic if we want to use this code on any non-player characters. Ideally, we also don’t want to have to write new movement code for every different type of movement input. One option here is to abstract away the specifics of how movement is decided as our state machine really just needs to move how we tell it to. How that decision is made is beyond what the input-related code cares about.
So let’s establish a “contract” of sorts defining how the state machine can query some other object, the specifics of which we’ll come back to in a moment, for information about how to move, and update our state machine to use this new object accordingly. Really, this “contract” is just an interface, but since GDScript doesn’t have support for interfaces as of v4.1, we’ll have to get a little bit creative with the implementation.
One option is to declare a class with some no-op functions in it that your components can inherit and override, much like what our base state.gd script is doing currently. Another option is to use Godot’s support for duck typing and just use consistent function names on everything without worrying about specific types.
In my own projects, I typically prefer the class-based approach just because I like to have the benefits of type hints, autocompletion, and so on, but to help cut down on the boilerplate code today, let’s just go with the duck typed approach and define a few common function names we’ll implement:
# Return the desired direction of movement for the character
# in the range [-1, 1], where positive values indicate a desire
# to move to the right and negative values to the left.
func get_movement_direction() -> float:
	pass

# Return a boolean indicating if the character wants to jump.
# This function does not decide if the player actually can jump.
func wants_jump() -> bool:
	pass
get_movement_direction will return the desired direction of movement for the character. As it’s meant to replace the snippet Input.get_axis('move_left', 'move_right'), and the sample project is a platformer, we only care about movement along the x-axis, but if you wanted to expand this to support two-dimensional movement, you can, of course, just change the return type to a Vector2 and update your code appropriately.
wants_jump returns a boolean indicating if the character wants to jump right now. I use the term “wants” as this function only tells us if the jump input has been triggered, not whether or not the character can jump at this point in time as that is something the state machine should get the final say over.
With our functions defined, the question then becomes where do we implement these functions. We could implement them on the parent object directly, but that would hurt code reuse since we’d have to add the code to every entity in our game. Alternatively, we could do an inheritance-based approach and let our parent objects inherit from some top-level class that implements the functions, but if we need to implement multiple interfaces that vary between objects, or just multiple implementations of different interfaces, that can also become problematic as our inheritance tree has to grow to support different feature sets.
Instead, we can go with a component-based approach, where we simply add a Node to our character object that has a script implementing our desired functions and pass this node to our state machine. The benefits of this approach is that reusing code is as simple as adding a node to our scene with the desired script on it, but it’s also easy to change behavior on a per-entity basis without having to make any modifications to the parent object. Just replace the script on this node and you’re done.
With our plan decided on, let’s now create two components implementing this interface: one for the player and one for a very simple AI controller. First up, the player component, which really just wraps basic input functions behind our interface:
extends Node

# Return the desired direction of movement for the character
# in the range [-1, 1], where positive values indicate a desire
# to move to the right and negative values to the left.
func get_movement_direction() -> float:
	return Input.get_axis('move_left', 'move_right')

# Return a boolean indicating if the character wants to jump
func wants_jump() -> bool:
	return Input.is_action_just_pressed('jump')
Let’s now connect this to our state machine. We can make a child Node on the Player and attach this script to it. As we’ll need this in pretty much every state, we can pass this into our state initialization code alongside the reference to the parent and animation nodes:
# player.gd
class_name Player
extends CharacterBody2D

@onready
var animations = $animations
@onready
var state_machine = $state_machine
@onready
var move_component = $move_component

func _ready() -> void:
	state_machine.init(self, animations, move_component)
# state_machine.gd

func init(parent: CharacterBody2D, animations: AnimatedSprite2D, move_component) -> void:
	for child in get_children():
		child.parent = parent
		child.animations = animations
		child.move_component = move_component
# state.gd

var animations: AnimatedSprite2D
var parent: CharacterBody2D
var move_component

func enter() -> void:
	animations.play(animation_name)
Now we can access move_component wherever we need to. If we wanted to update our move state, for instance, it would look like this:
# move.gd
extends State

@export
var fall_state: State
@export
var idle_state: State
@export
var jump_state: State

func process_input(event: InputEvent) -> State:
	if move_component.wants_jump() and parent.is_on_floor():
		return jump_state
	return null

func process_physics(delta: float) -> State:
	parent.velocity.y += gravity * delta

	var movement = move_component.get_movement_direction() * move_speed

	if movement == 0:
		return idle_state

	parent.animations.flip_h = movement < 0
	parent.velocity.x = movement
	parent.move_and_slide()

	if !parent.is_on_floor():
		return fall_state
	return null
All that’s different is we now ask the move_component about how to move, rather than polling the Input class directly. Hopefully you can already see the benefits this technique offers. We can now swap out move_component for anything that returns a boolean for jumping and a float for horizontal movement and have our state just work. To demonstrate this, let’s make a very old school AI controller:
extends Node

@export
var parent: CharacterBody2D

var direction := 1.0

# When a wall is touched, move in the opposite direction
func get_movement_direction() -> float:
	if parent.is_on_wall():
		direction *= -1

	return direction

# This poor character never learned how to jump
func wants_jump() -> bool:
	return false
This is about as simple of an AI controller as you could make. This component keeps a reference to the parent CharacterBody2D to implement a simple controller where the character moves in one direction until it hits a wall, then starts moving in the opposite direction. wants_jump is still implemented, but since this character isn’t allowed to jump, we just always return false. Put this on a new character to see it in action, or even just replace the component on the Player and let it automatically move around.
That’s the power of abstracting state functionality into components. One code base can support any movement controller as long as it implements the wants_jump and get_movement_direction functions.
Hierarchical state machines
The last concept I want to introduce is that of hierarchical state machines, which involves using inheritance to make your state logic reusable across multiple states, something that, again, we’re actually already doing in my starter state machine code. Recall that state.gd has the following enter function so that we can automatically play an animation when a state is entered:
func enter() -> void:
	parent.animations.play(animation_name)
Which we updated a moment ago to the following, equivalent code:
func enter() -> void:
	animations.play(animation_name)
Since our other states inherit from this class, we only have to write this code once and then can reuse it across every state. Some states define a custom enter function that extends this functionality, but others don’t. That’s the idea of a hierarchical state machine: functionality defined in a superclass that you can fall back on, extend, or override as appropriate. Just keep in mind that since this is an inheritance-based technique, any subclass should be fully compatible with its superclass (ie don’t try to change return types, function parameters, etc).
For instance, you could throw the code that reads from our move component into a separate function to make it easier to modify or override in a subclass. To demonstrate this, let’s implement a dash state, which will work just like the movement state, except the player is locked into this state for a fixed amount of time and cannot jump to exit this state early.
To start, let’s add two new function in the State class for reading inputs from our movement component so that we can override them later on:
# state.gd

func get_movement_input() -> float:
	# Using components
	return move_component.get_movement_direction()

func get_jump() -> bool:
	return move_component.wants_jump()
Our move state, and any other state, can then use these functions like so:
# move.gd

func process_physics(delta: float) -> State:
	if get_jump() and parent.is_on_floor():
		return jump_state

	parent.velocity.y += gravity * delta

	var movement = get_movement_input() * move_speed

	if movement == 0:
		return idle_state

	parent.animations.flip_h = movement < 0
	parent.velocity.x = movement
	parent.move_and_slide()

	if !parent.is_on_floor():
		return fall_state
	return null
If we wanted to turn this code into a dash state in a hierarchical fashion, we could subclass this script, override get_movement_input to return a constant value when we should be dashing, override get_jump to always return false so that we can’t jump out of the dash state, track our time in the state so we can automatically exit it when the dash duration has elapsed, and then let the parent move state take care of the rest of the logic:
# You could also declare a class_name for the move state
# so you don't have to reference the script directly
extends 'res://src/state_machine/states/move.gd'

@export
var move_state: State

@export
var time_to_dash := 0.5

var dash_timer := 0.0
var direction := 1.0

func enter() -> void:
	super()
	dash_timer = time_to_dash

	# Simple check for which direction to dash towards
	if parent.animations.flip_h:
		direction = -1
	else:
		direction = 1

# Just to be safe, disable any other inputs
func process_input(event: InputEvent) -> State:
	return null

func process_physics(delta: float) -> State:
	dash_timer -= delta
	if dash_timer <= 0.0:
		# Fall back on the default input implementation to
		# determine where to go next
		if super.get_movement_input() != 0.0:
			return move_state
		return idle_state

	# At this point, run 'process_physics' in the move script as written
	return super(delta)

# Override movement inputs
func get_movement_input() -> float:
	return direction

func get_jump() -> bool:
	return false
With that state defined, we just need to add it to another state node, and update the states we want to be able to enter the dash state from, in this case probably the idle and move states:
# idle.gd

@export
var dash_state: State

...

func process_input(event: InputEvent) -> State:
	...

	if Input.is_action_just_pressed('dash'):
		return dash_state

	...
And that’s an example of using hierarchical states to override and modify behavior from a state. While the dash state does still have a lot going on, we do at least avoid having to reimplement the basic movement code for this state. If you wanted to try this out further, there are other aspects of this state machine that could be set up in a hierarchical fashion, but that’s left as an exercise for the reader.
Complex state needs
With the techniques we’ve looked at so far, you should be in a pretty good position to design the right state machine for your needs, so I’d like to now shift gears a bit and talk about some common pain points you may find yourself in with state machines and some potential solutions for them. Again, this won’t be exhaustive by any means, just an attempt to share a bit more based off of questions I’ve gotten over time. If you’ve got any techniques or design patterns you like to use for solving state-related issues, please share!
Using multiple state machines together
One of the most common issues you may run into is how to do two separate things at once, such as attacking while moving in a run-and-gun situation. As state machines are exclusive entities, one machine handling two different states doesn’t really work, but you don’t also want to have to duplicate every movement-related state for every attacking-related state so that you can have every possible permutation handled by one state machine alongside managing whatever data or animations go along with all of that.
The solution, sometimes, is to just make a second state machine so you can have one set of states for movement and another for attacking (note that this would require having your movement and attack animations separated from each other as well). This configuration is known as a concurrent state machine and is a solid choice when you have multiple states to manage that are largely or wholly independent of one another. To create one, you just make a second state machine using your implementation of choice and pipe each event to both state machines.
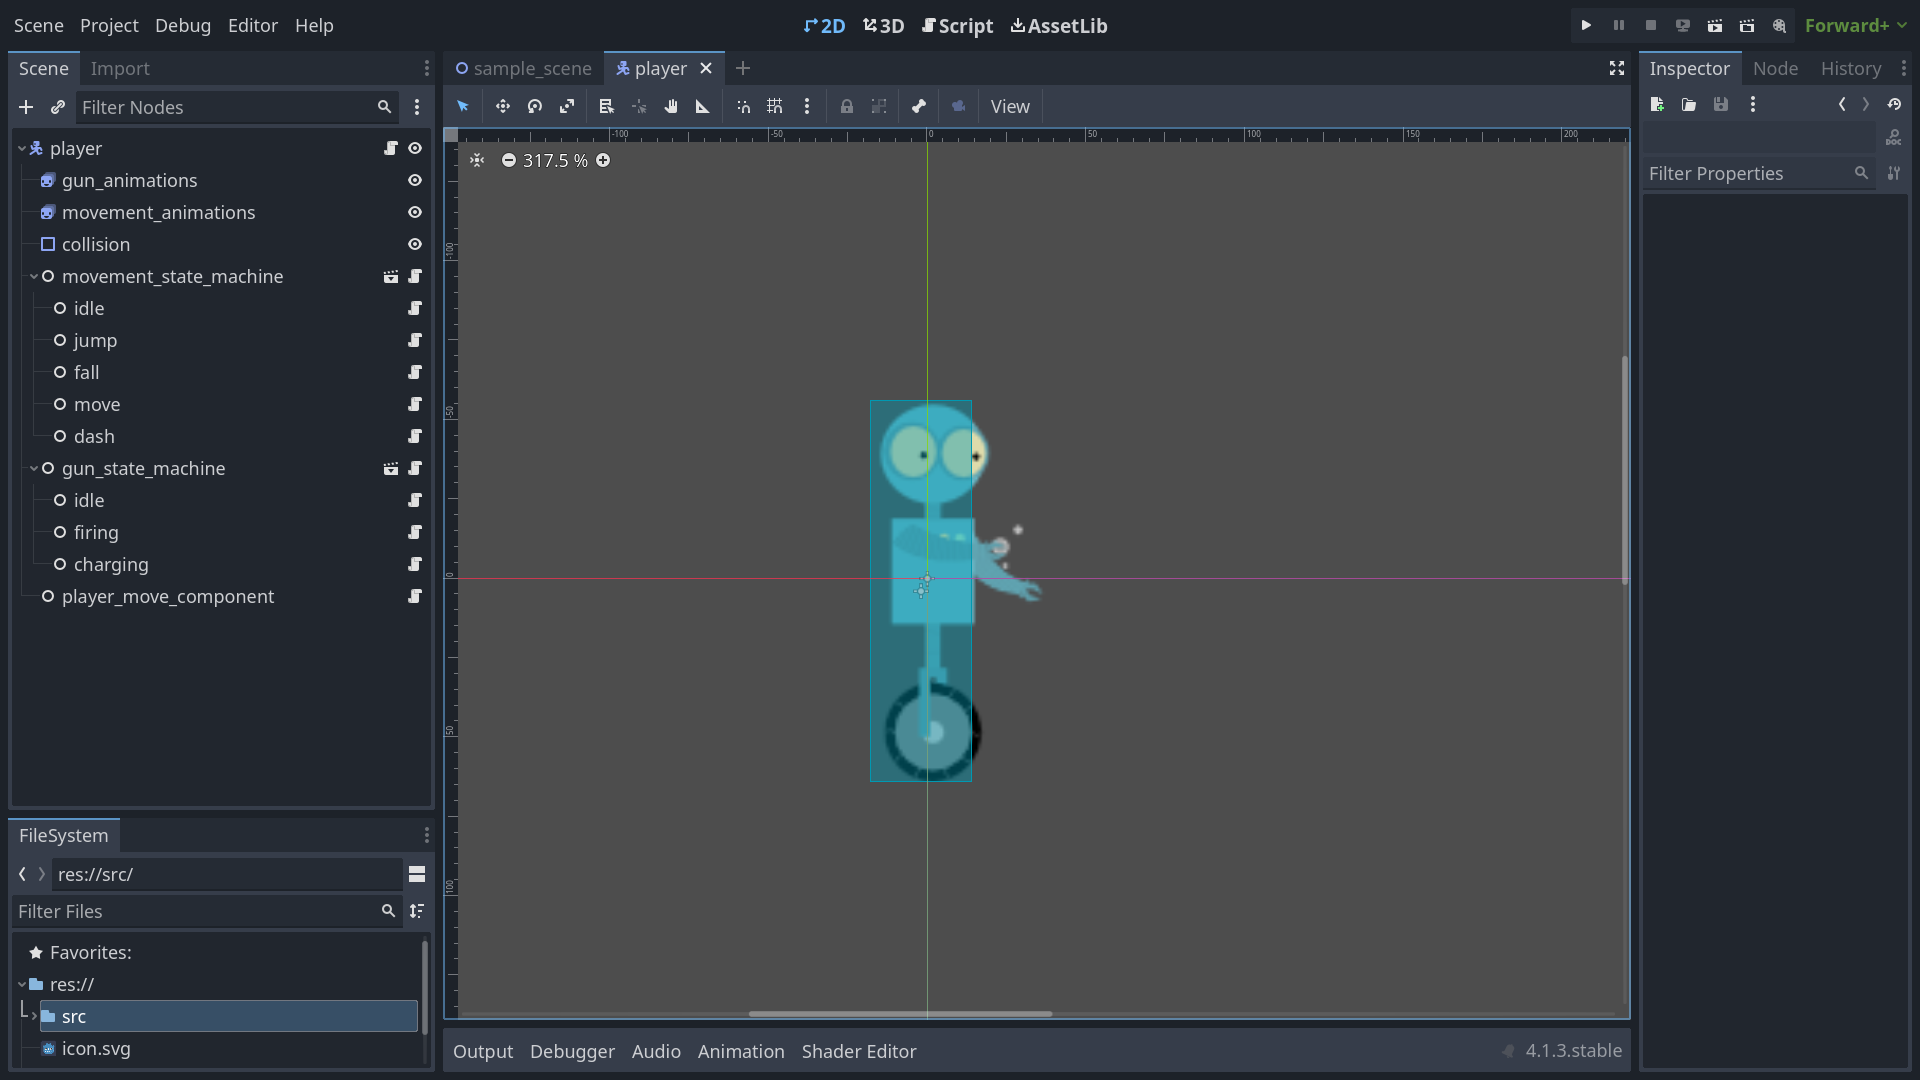
If we were to extend the original starter state machine to have a concurrent state machine, the scene would look like the following:
And the script would look like:
class_name Player
extends CharacterBody2D

@onready
var animations = $animations

@onready
var movement_state_machine = $movement_state_machine
@onready
var attack_state_machine = $attack_state_machine

func _ready() -> void:
	movement_state_machine.init(self)
	attack_state_machine.init(self)

func _unhandled_input(event: InputEvent) -> void:
	movement_state_machine.process_input(event)
	attack_state_machine.process_input(event)

func _physics_process(delta: float) -> void:
	movement_state_machine.process_physics(delta)
	attack_state_machine.process_physics(delta)

func _process(delta: float) -> void:
	movement_state_machine.process_frame(delta)
	attack_state_machine.process_frame(delta)
The rest would be as before, with each state machine managing the states they’re responsible.
But what about if one state machine needs to know what the other is up to? Maybe you can only do a big attack when you’re not in a jump state, for instance, but otherwise can do attacks as you please. Likewise, maybe you shouldn’t be able to start jumping when a big attack is in progress. In cases like these, it may be enough to just give each state machine a reference to the other so that state checks can be ran where appropriate:
# Somewhere in the code for our attack states

func process_input(event: InputEvent) -> State:
	if Input.is_action_just_pressed('big_sword_attack') and movement_state_machine.current_state != jump_state:
		return big_sword_attack_state
If you need to pass data back and forth as well, or have a number of checks to perform, then the next section may be of interest to you.
Sharing data
As much as we’d like to keep our states, and potential concurrent state machines, completely independent of one another, there are times where data needs to be shared between them. Maybe the run state should drain stamina, impacting how long future run states can be maintained. Maybe using any ability should prevent you from using another for some time. Or maybe you just need to remember the last time an event happened in some other state.
Regardless of the specifics, it all comes down to the question of how to share data between states, and there are two approaches I tend to lean towards. The first is to lift data up the character hierarchy. I mention this because it’s important to remember that state machines are for state-dependent logic, and shouldn’t necessarily maintain every bit of data your character may have. Some items, such as character stamina or other stats, probably belong higher up the chain, and should maybe even be their own component so that you can easily manage related features, such as adding status effects, displaying stats in the UI, and so on. You’ll have to do a bit of wiring to get that data available in the states, but that’s just how it is sometimes.
Other times, having a data store that can be used by the states to read, write, and share data can be an option. This could be something as simple as a dictionary on the managing state machine:
# state_machine.gd
extends Node

@export
var starting_state: State

var current_state: State

var data_store := {}

func init(parent: CharacterBody2D) -> void:
	for child in get_children():
		child.parent = parent
		child.data_store = data_store

	# Initialize to the default state
	change_state(starting_state)
Which the states can have a reference to:
# some_state.gd

func exit() -> void:
	data_store.some_value = 1.0
Or a separate component that runs any amount of custom logic, emits signals, and whatever else you need:
# some_data_store.gd

# Data store handles decrementing the timer
var post_attack_cooldown_timer: float

func _process(delta: float) -> void:
	post_attack_cooldown_timer -= delta
# some_state.gd

func on_some_input() -> State:
	if data_store.post_attack_cooldown_timer > 0:
		# Do something
	else:
		# Do something else

func exit() -> void:
	data_store.post_attack_cooldown_timer = 1.0
Or, if you don’t want to have a shared data store, you can always modify your states and state machines to return and pass data around directly. A basic setup might involve simply returning an object instead of a State when transitioning states and passing that object to the new state:
# some_state.gd

var cooldown_time := 1.0

func enter(data: MyData) -> void:
	if data.prev_state == SomeState:
		# do something

func process_input(event: InputEvent) -> State:
	if Input.is_action_just_pressed('big_sword_attack'):
		# Return an object containing a reference to the next state and the cooldown_time
		return MyData.new(BigSwordAttackState, cooldown_time)

	return null
As you can tell, you’ve got options depending on what you need and what appeals to you. It’s all just tools in the toolbox, and what you’ll need will vary based on your situation.
Wrapping it up
And that’s all I have to say about state machines for now. As a reminder, this is just a few techniques I think are useful to know and to get you thinking about how different problems can be solved, but there’s plenty more I’ve excluded for one reason or another. If you want more reading on state machines specifically for games, check out Game Programming Patterns or pick up a copy of Programming Game AI by Example.